Your basket is empty.
 Free shipping over £159 Open purchase 30 days Fast delivery Customer service 0300-308 60
 Secure payments with Qliro
 B2B LOGIN
Free shipping over £159
Open purchase 30 days
Fast delivery
Customer service 0300-308 60
Secure payments with Qliro
Which LED ramp should you choose for your car? Long range is an advantage on straight stretches, but on winding roads you also need light out to the edges of the road. Choose the light pattern according to how you drive and then check that the ramp and brackets will fit on your car.
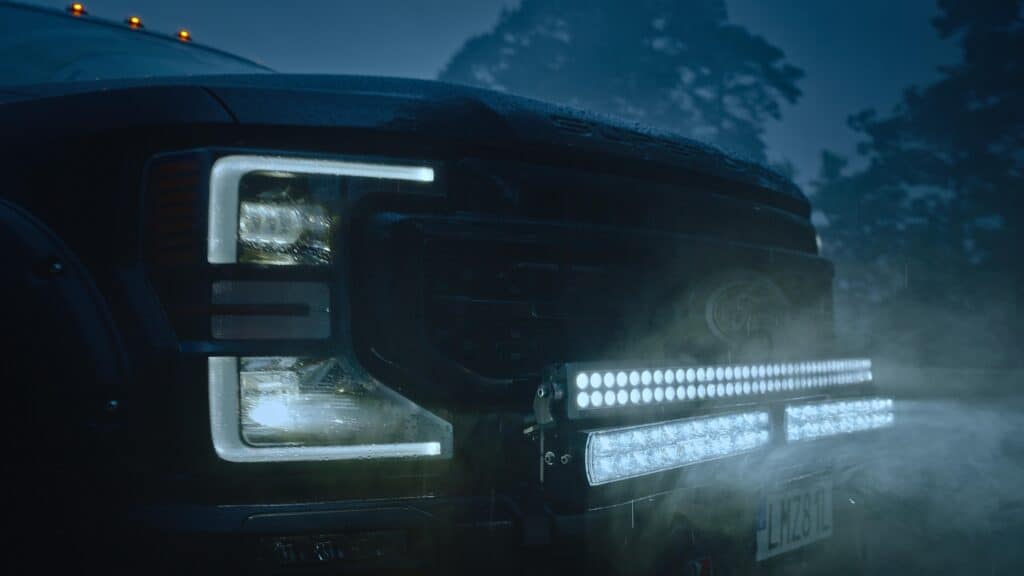
For varying roads, a light pattern with both width and reach is a good starting point. The light needs to reach forward along the road and out to the edges, even when the road turns. When comparing LED light bars Therefore, the light distribution says more about the use than just the number of watts.
Driving and Combo are used for light patterns that combine forward light with side spread. The designations provide a first guide, but two ramps with the same designation do not necessarily light the same way. Compare light patterns or measurement patterns for the models you are looking at, so you can assess both the light along the road and the width near the car.
Spot focuses the light into a narrower beam and can be relevant on long, straight stretches. Also check how much side light you get with your car's existing high beam. Long range does not replace a wider light pattern where you need to see the edges of the road.
For a light image with both width and reach, we recommend that you start with Luxtar X20 Black Edition with Driving light pattern. The X20 is also available with Spot light mode, so make sure you choose the correct version.
Lumen indicates luminous flux, while a distance at, for example, 1 lux shows where a certain illuminance is achieved. Watt describes power consumption. None of these values alone show the entire light pattern. Also compare the same power mode: a specification for full power may differ from that applicable in the approved high beam mode of the luminaire.
The ramp needs to fit along with brackets, connections and space to align. Sizes like 20 and 30 inches can help you sort through the options, but always check the exact dimensions of the model before ordering. A specific ramp size is not a guarantee of fit for a car make or model.
Measure the intended mounting location and check the following:
| Verify | What you need to know |
|---|---|
| Length | The ramp and brackets must fit in the intended opening. |
| Height | Measure the entire assembly, including parts that end up above or below the lamp housing. |
| Depth and adjustment | Leave space for the connection and to direct the ramp according to the instructions. |
| Car equipment | Make sure the location does not obscure sensors or cameras. |
A low ramp can facilitate discreet installation in the front, while a higher model requires more space. Single row and double row describe how the LEDs are arranged. The number of rows does not alone determine the light performance, so also compare optics and actual light distribution.
Luxtar Twilight 300W is our Luxtar option when you need a low ramp with a Driving light pattern. The lamp housing is 45 mm high, but also check how much space the brackets take up before you decide.
Optibeam Super Captain Dual 600 has a Driving light pattern and a 68 mm high lamp housing. It requires more space in height than Twilight and is an alternative if you prefer the taller format. Compare the dimensions for the specific variant you are going to buy, not another model in the same series.
The straight or curved shape determines how the lamp housing of the ramp follows the front of the car. A straight ramp gives a straight line, while a curved model, often called a curved one, may fit a rounded front better. Both need to be checked against the design of the bracket and the available space.
The shape alone is not enough to judge how wide the ramp illuminates. The optics and the light pattern of the particular model also need to be compared. Therefore, do not choose an arched ramp solely with the expectation that it will automatically provide more useful side light.
Osram LEDriving Curved Ledbar VX1000-CB SR-SM is an example of an arched ramp with Combo light pattern. Check the model's length and mounts to the car before choosing it.
The choice is only clear when the light pattern, the dimensions of the ramp and the installation work together.
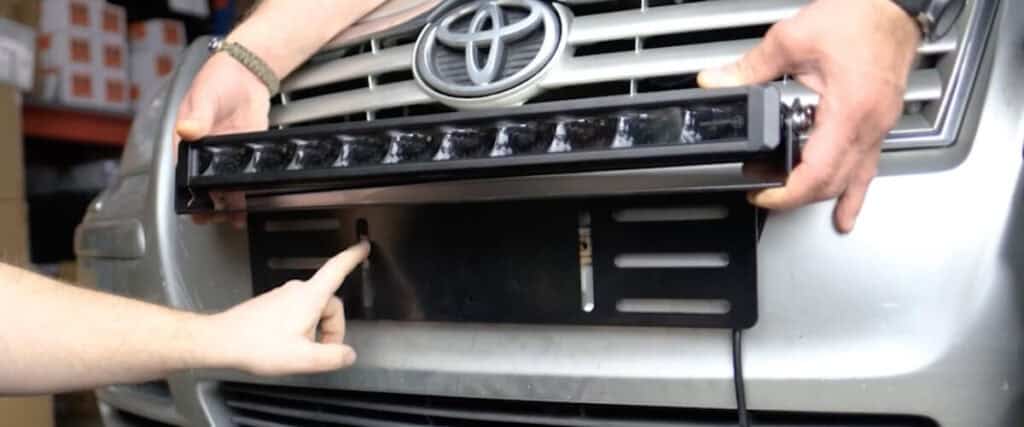
Right attachment to the articulated ramp needs to fit both the ramp and the mounting location. The actual connection is described in our guide to installing additional lights, where power and control signal are treated separately. See also how to mounts an LED ramp at the license plate or in the grill, with pictures and film.
Once you have chosen your lighting and know how much space you have, it becomes easier to compare models. Our testing of LED ramps tar upp fyra alternativ i sortimentet. Jämför de egenskaper som betyder mest för din körning och ta hjälp med bilens förutsättningar om fäste eller inkoppling fortfarande är oklart.
Installed and Ready
Would you rather have a workshop install it?
Buy extra lights with installation, and one of our partner workshops will install them for you. Installation has a fixed price and is booked when you shop.